Magic Wands
The world could all use a little magic right now, and so I bring you these: magic wands. I can’t guarantee they’ll stop pandemics or keep world markets from the brink of collapse, but I CAN tell you that creating these with your kids can make the crazy squirrels disappear from your head for the time being. AND you don’t need to know Latin.
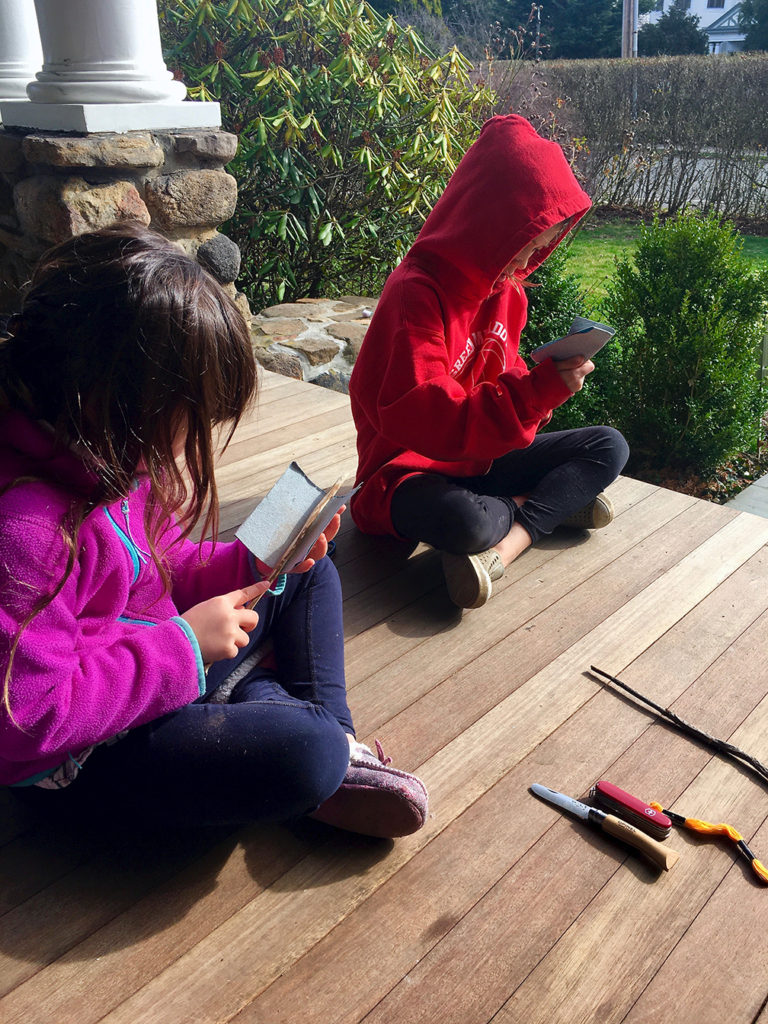
The reason why I like this project is because it gets you outdoors, and you do some whittling. There’s something hypnotic about mindlessly scraping bark off a piece of tree with a knife while sitting in the fresh air.
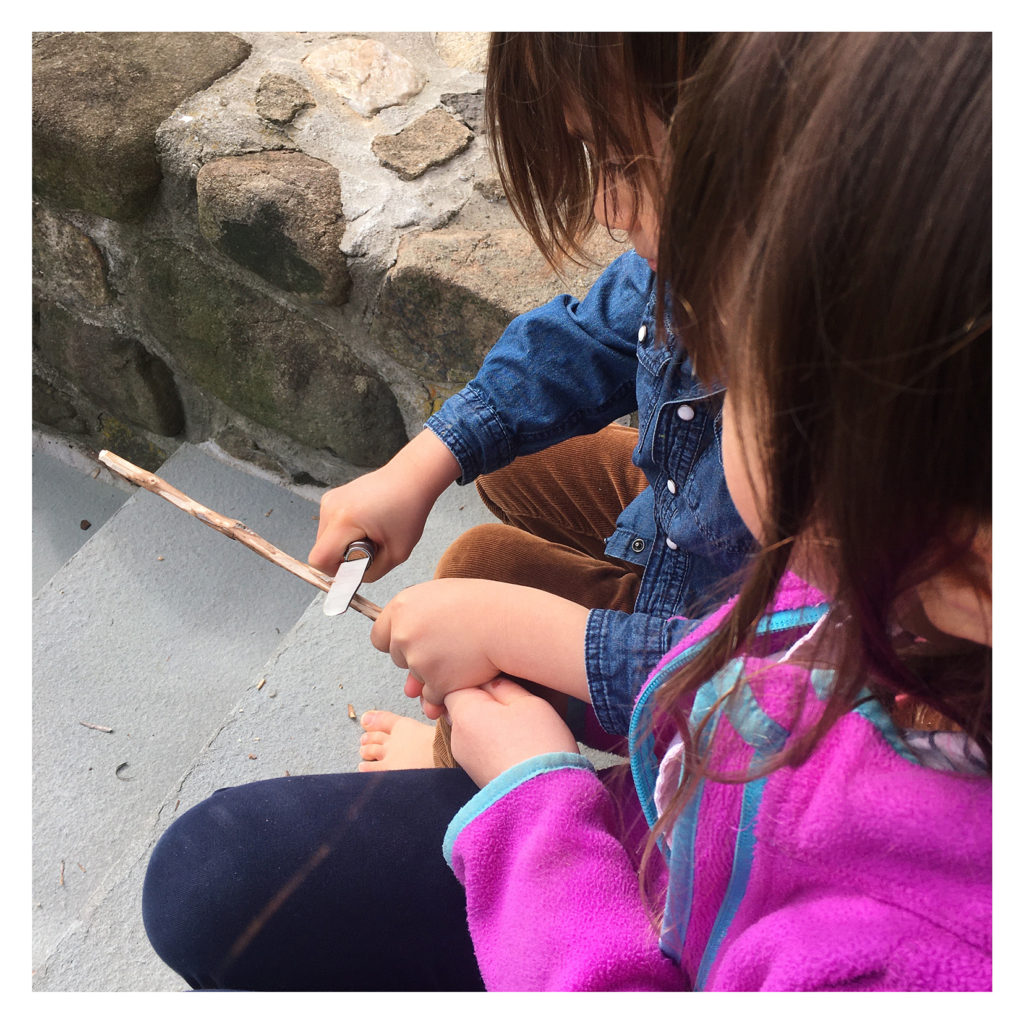
If I lost you at “whittling” and “knife,” here are some tool options for different ages and levels of dexterity:
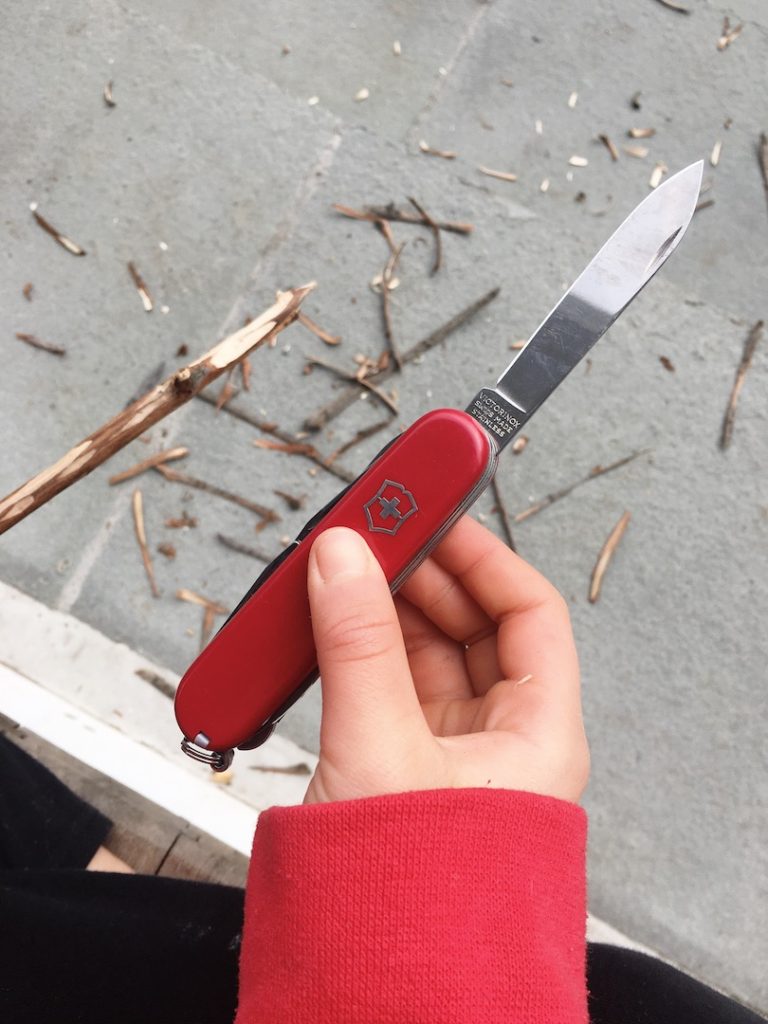
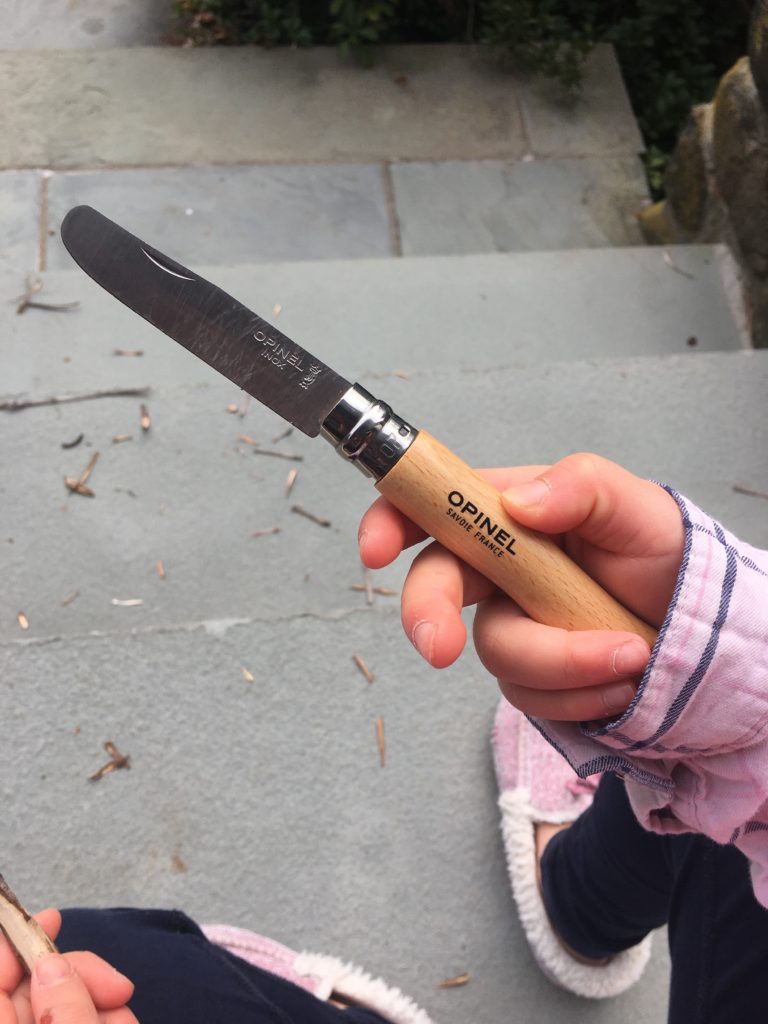
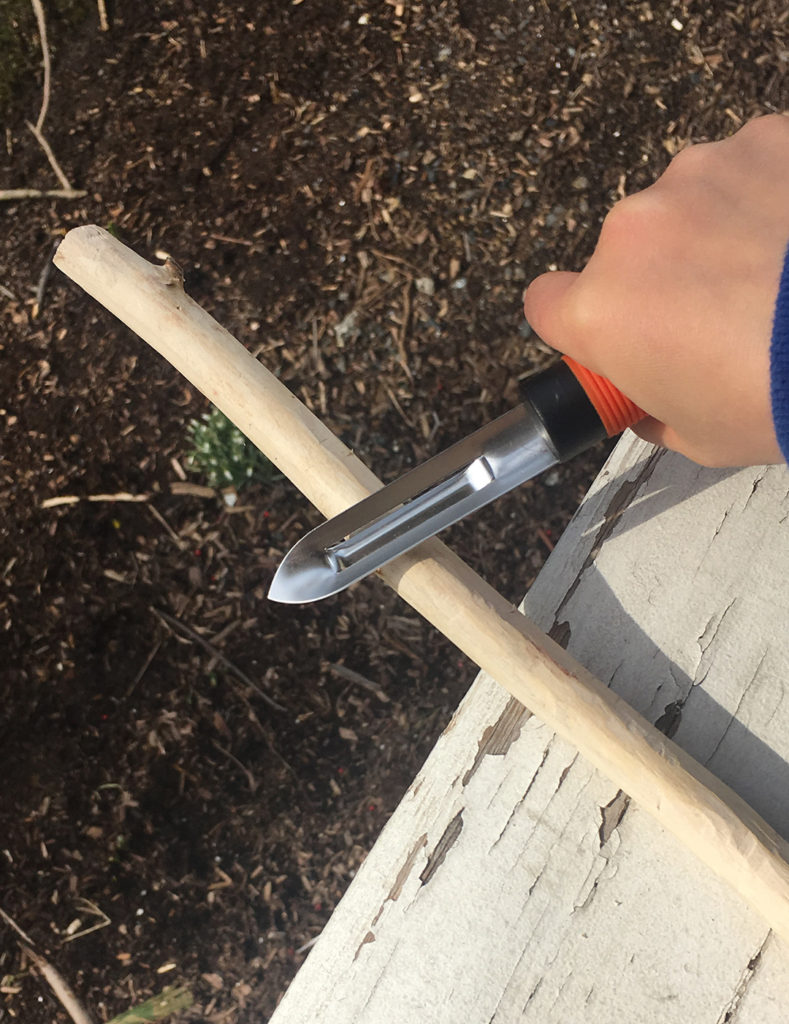
My 10-year old daughter uses the Swiss Army one of the left, my 8-year old uses the rounded-tip Opinel on the right, and my 5-year old uses the non-swivel vegetable peeler on the right. You know your child best, and you’ll decide what they’re ready for. But as with all new things, I make sure my kids understand that this is a responsibility, and that they know the rules before we begin. Teaching them to use a knife safely doesn’t take long, but it’s a skill that will last them a lifetime.
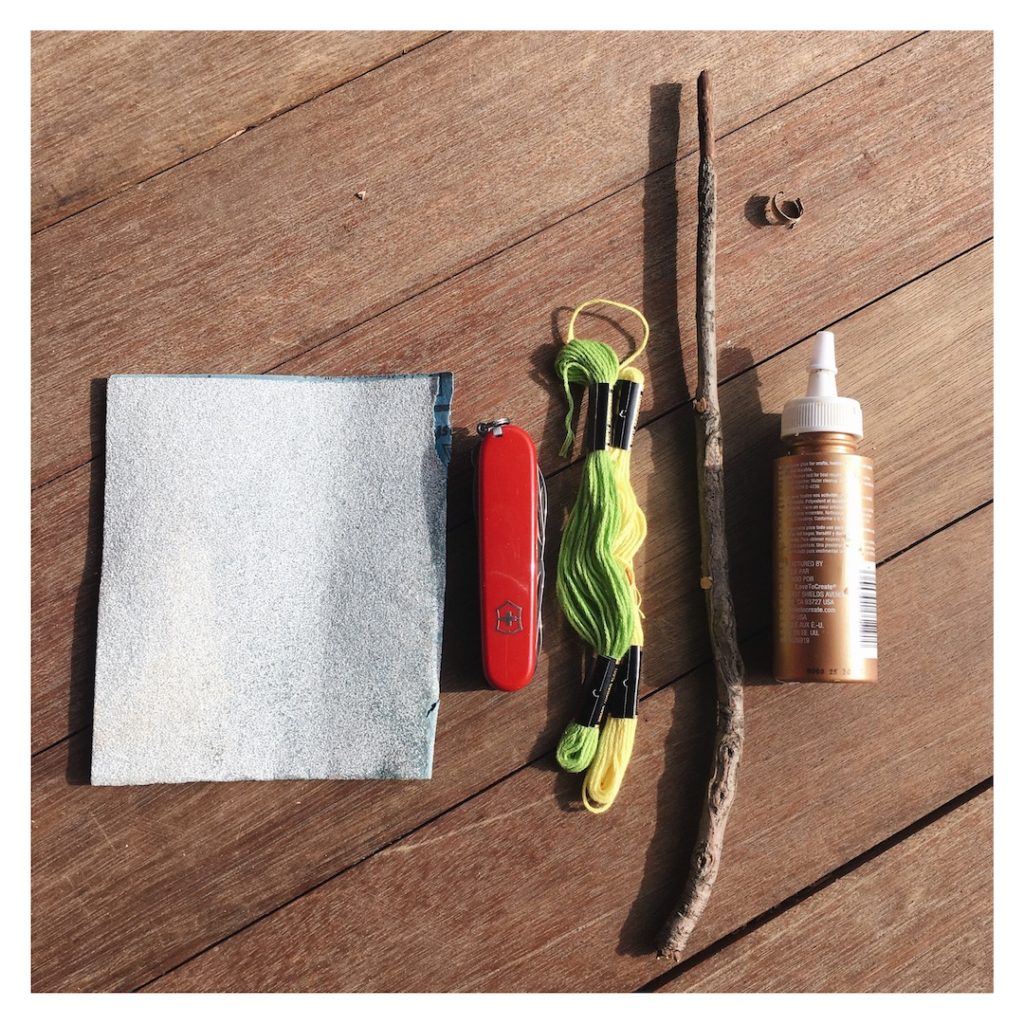
For this magic wand project you will need:
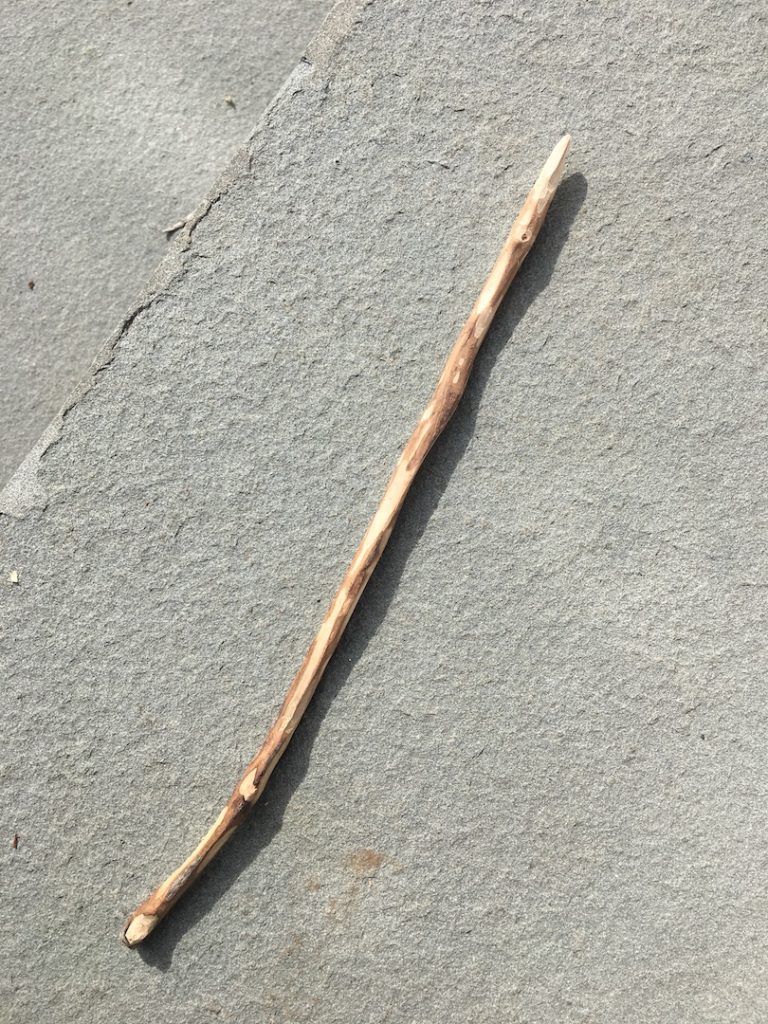
- A stick
- An instrument for whittling
- Embroidery floss, or any kind of string or ribbon
- Glue
- Sandpaper
- Optional: glitter or glitter glue
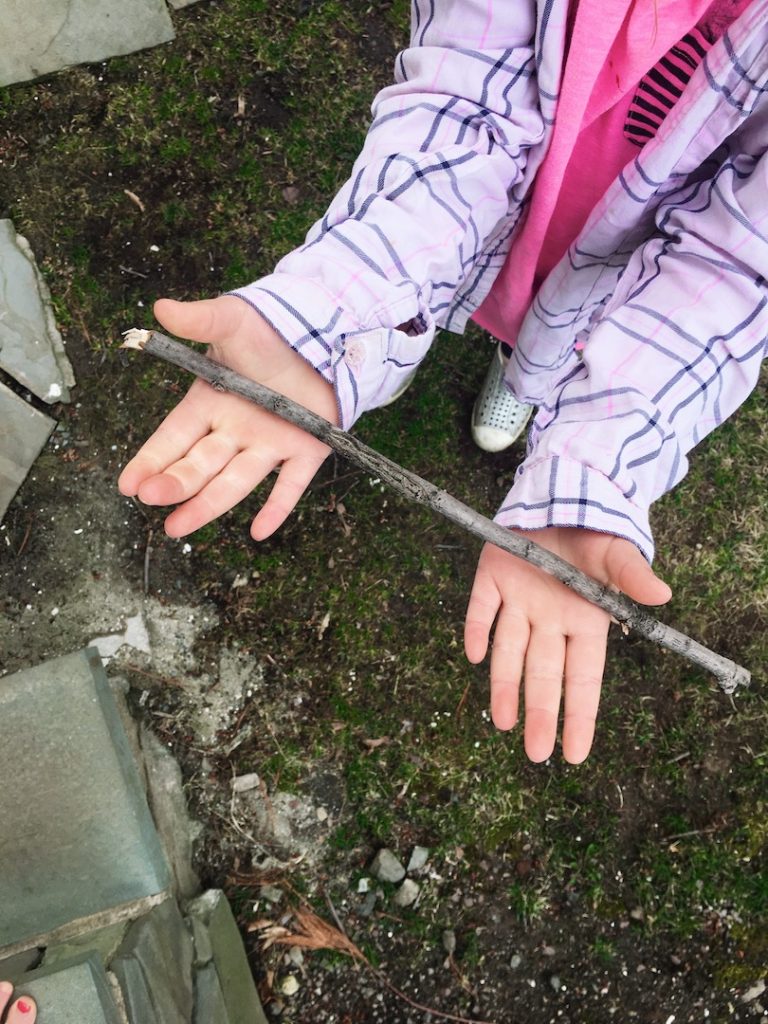
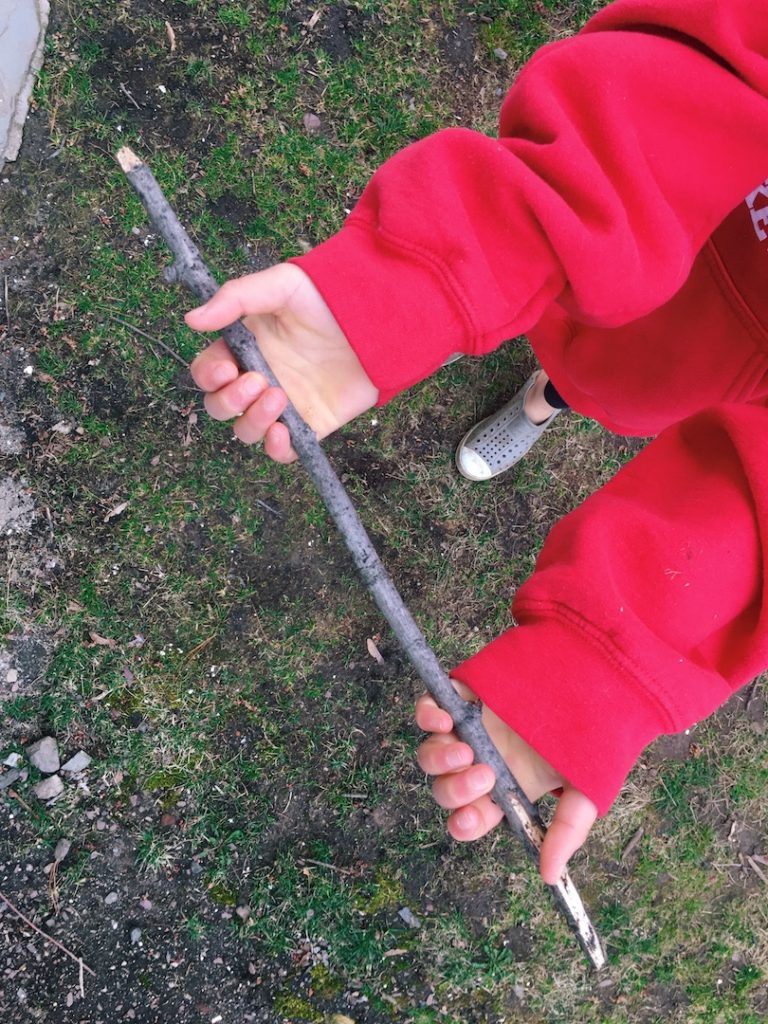
STEP 1: Get outdoors and choose a stick. It could be a twig, or a branch, thick or thin, long or short. Softer, newer wood is better for those using vegetable peelers.
STEP 2: Start whittling. Go slowly. No big or deep cuts. Just long sweeping cuts that go away from your body.
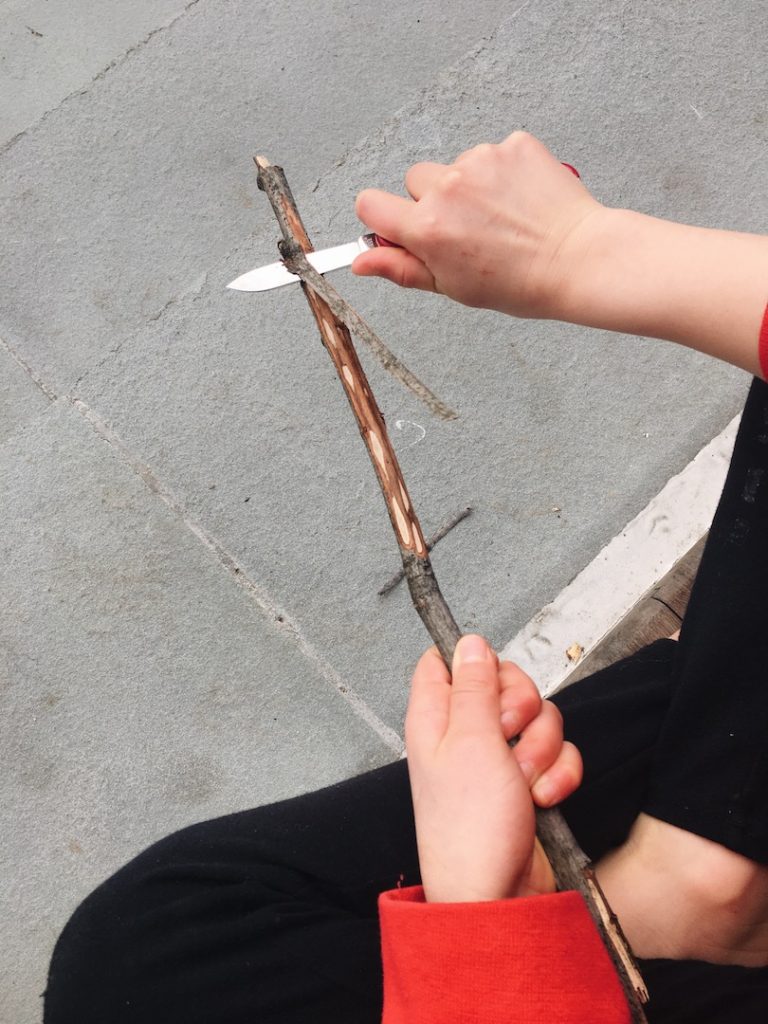
Keep going…
If you’re outdoors, and can stay outdoors, do it. The sound of whittling and chirping birds go well together. AND there’s nothing to clean up.
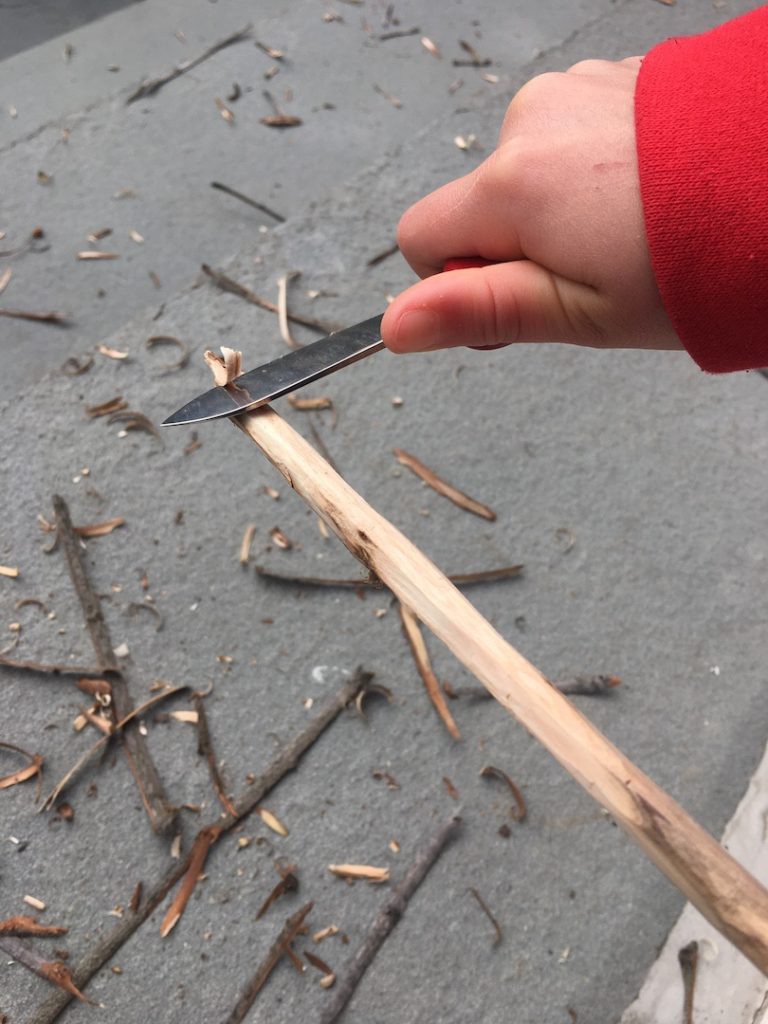
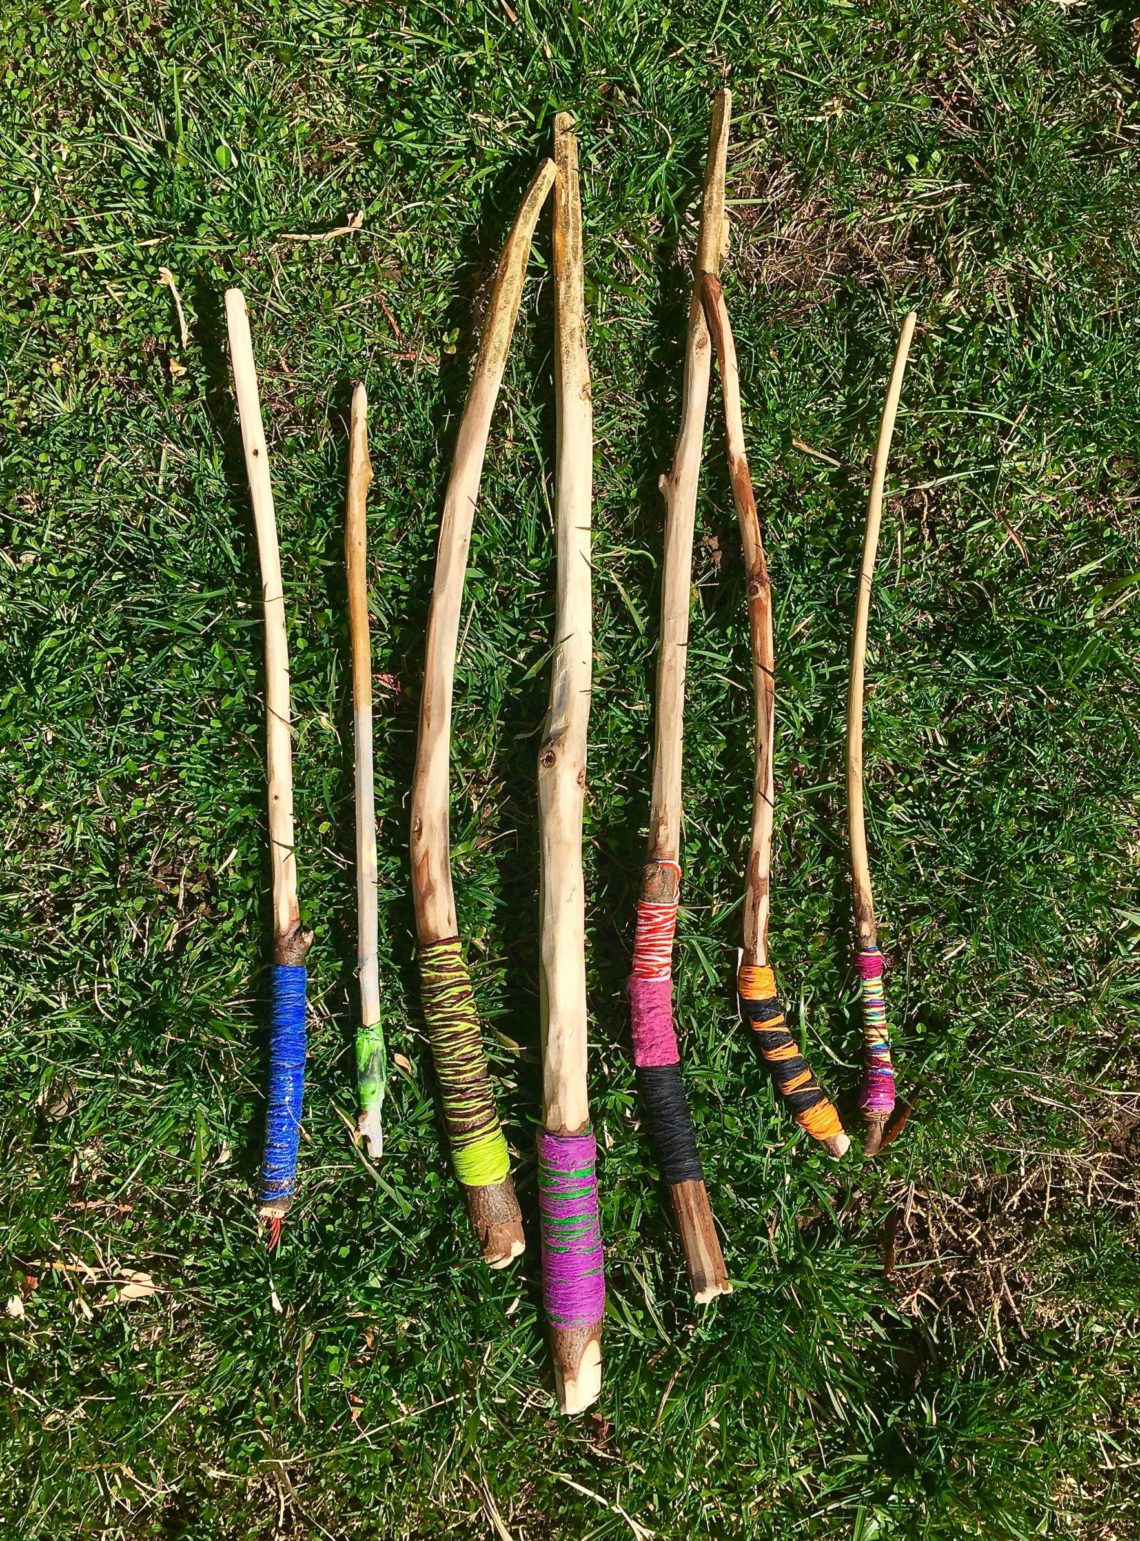
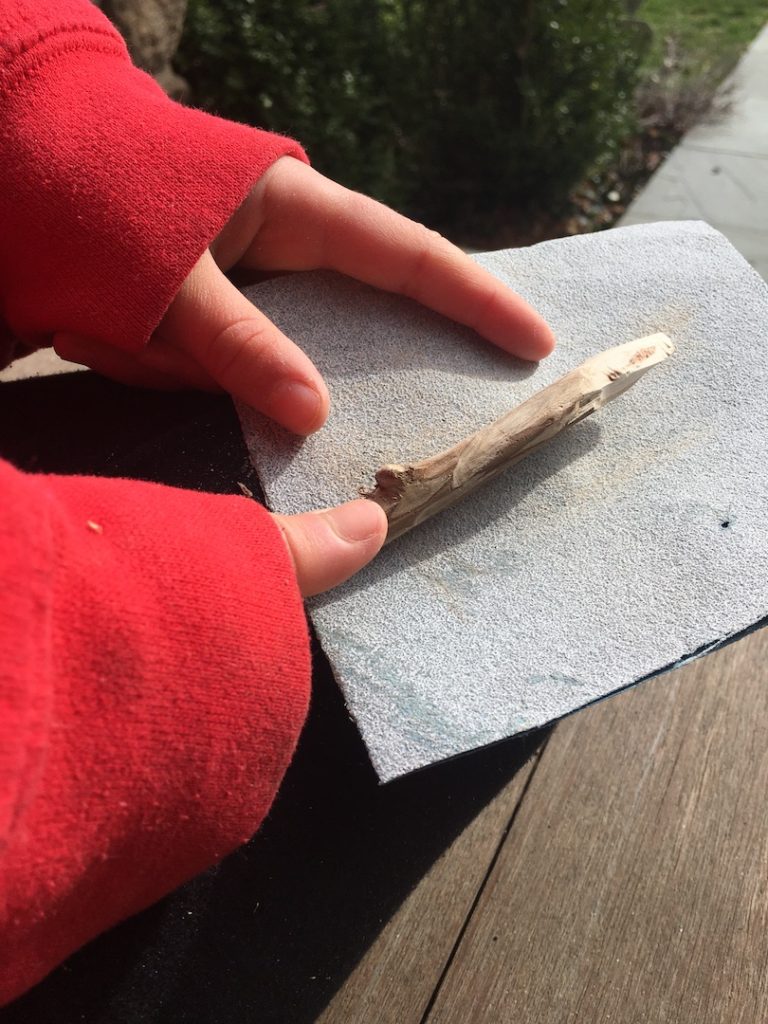
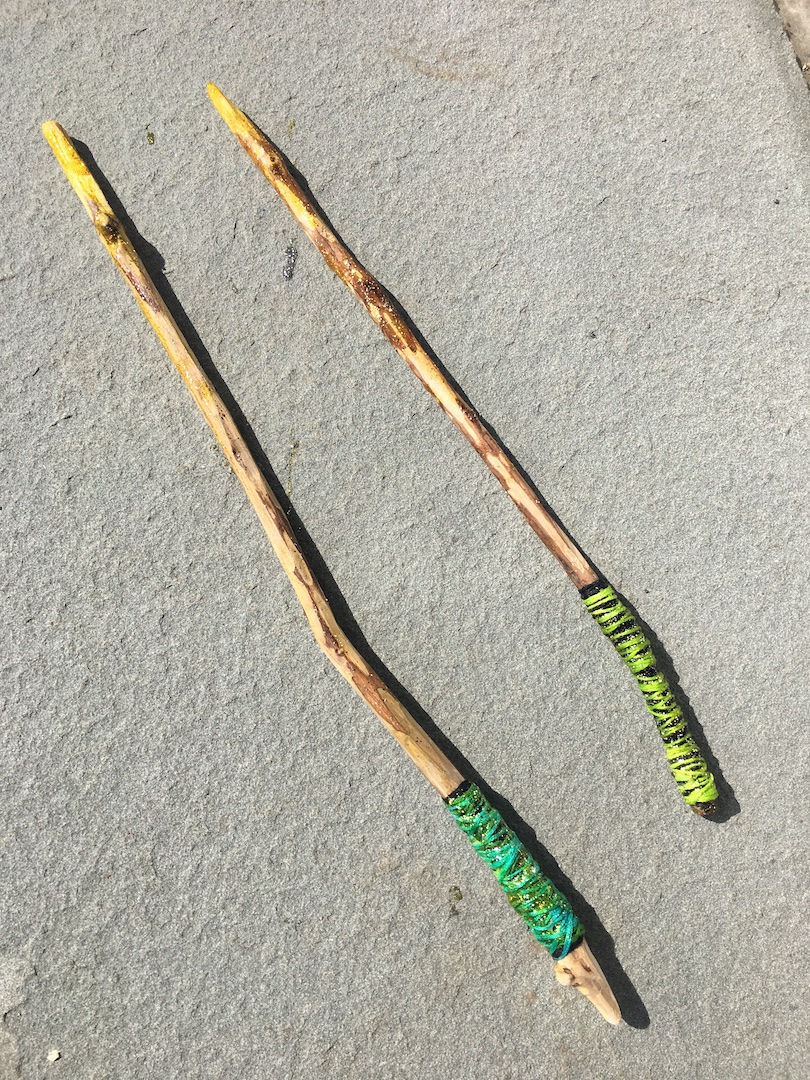
STEP 3: When you’re done, you can start sanding. Make sure to round off the ends! But as for the rest of the wand, you decide. Some roughness and angles actually make it look more ancient and magical.
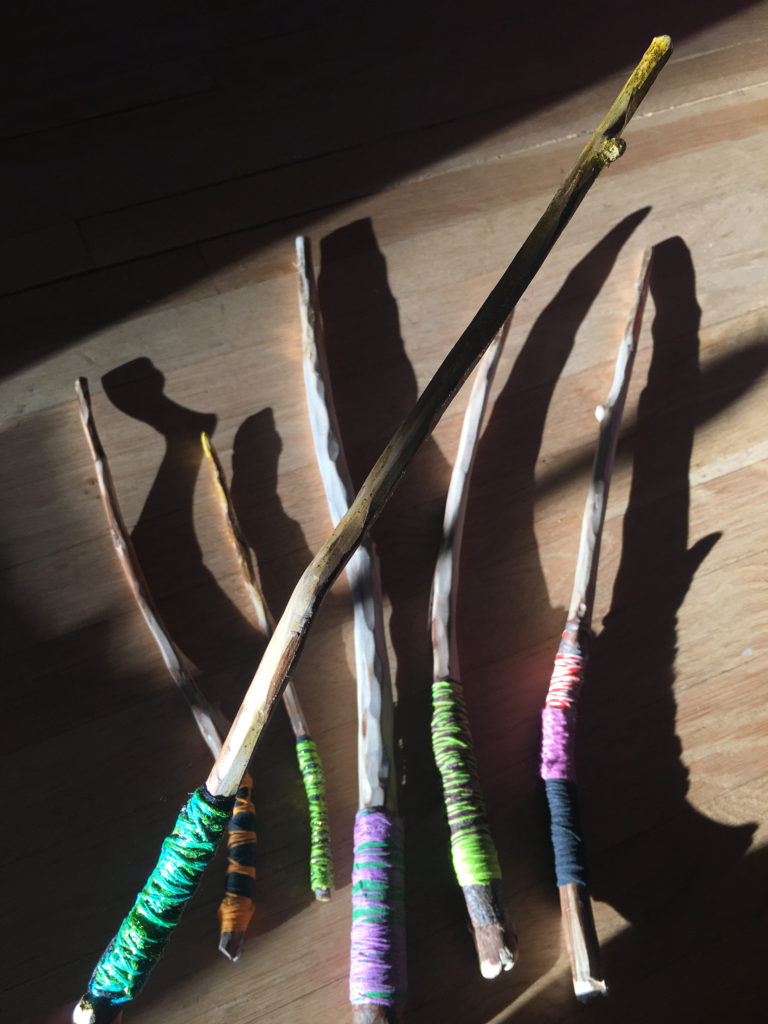
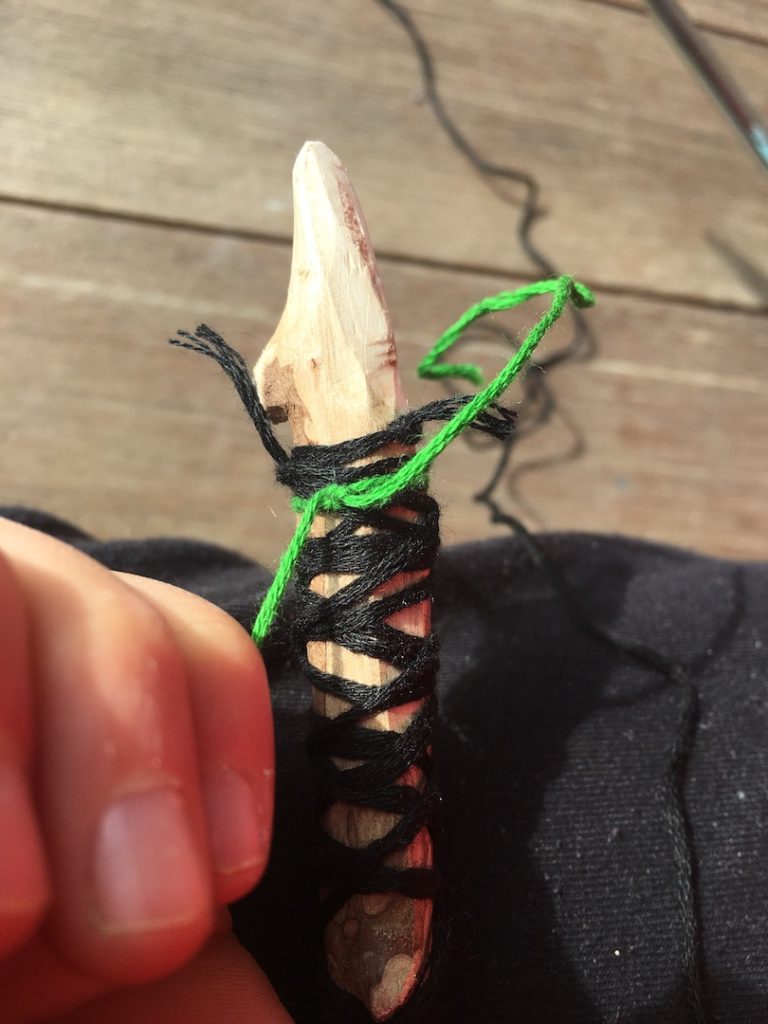
Step 4: Tie (or glue) embroidery floss onto the “handle” end.
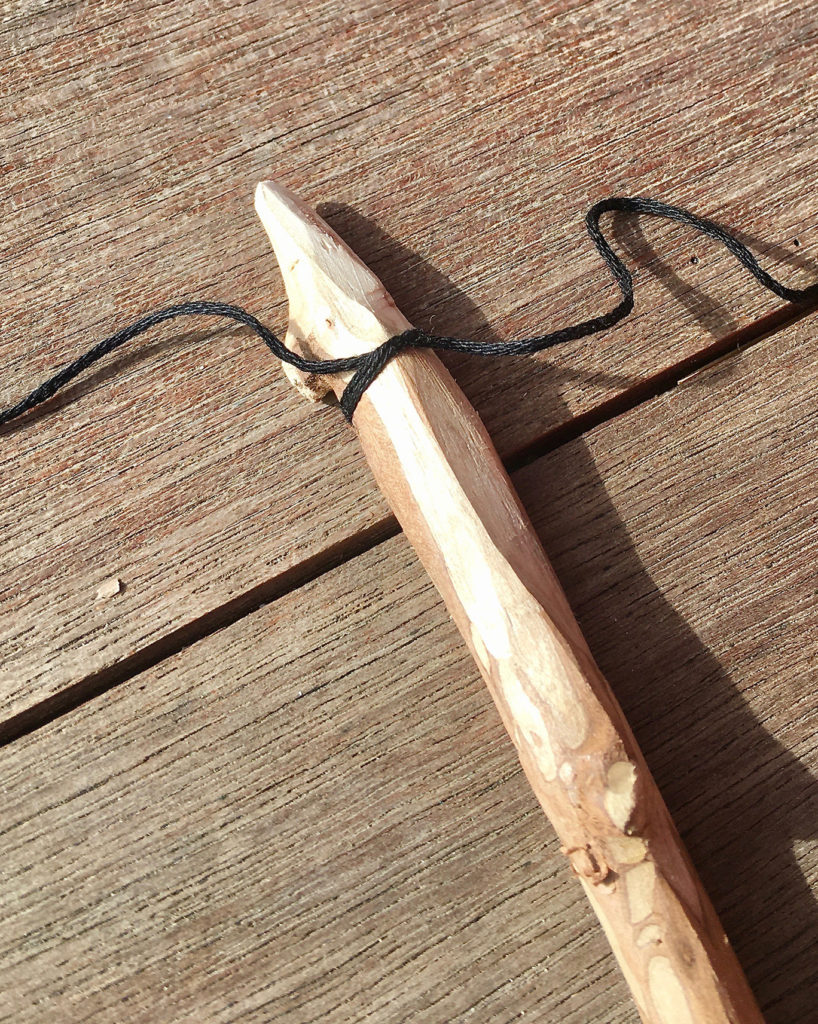
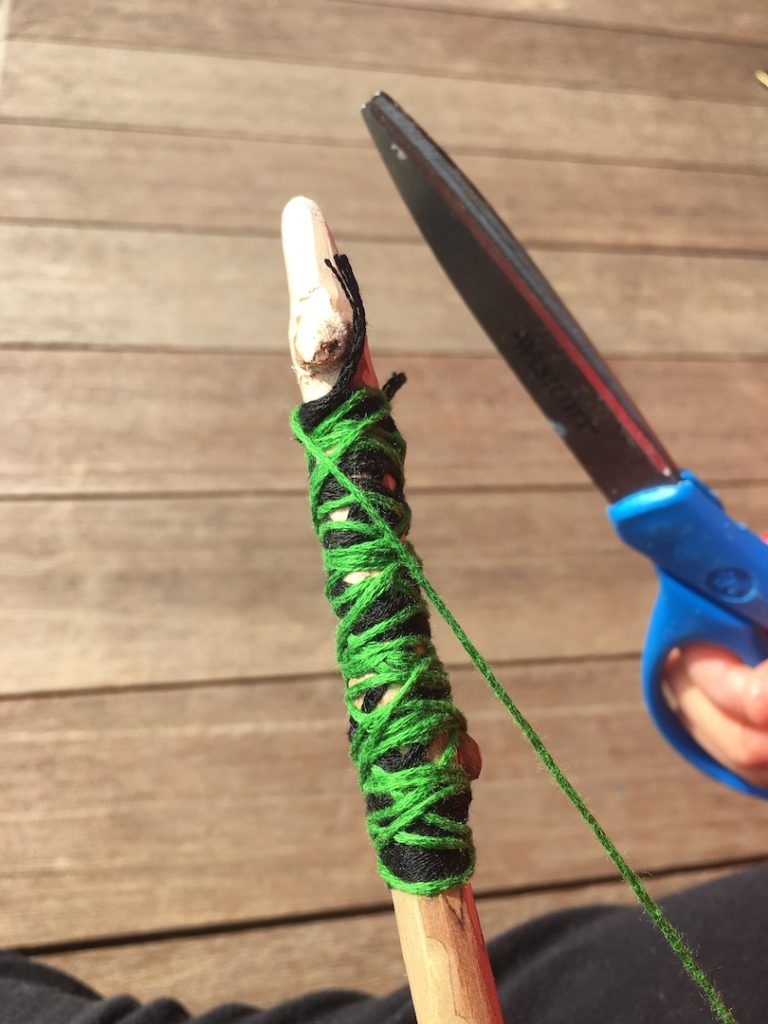
Step 5: Wind your floss around to make the handle. Snip with scissors when you’re done, and tie (or glue) the ends to the stick.

(Optional) Step 6: Add another color and repeat Step 5.
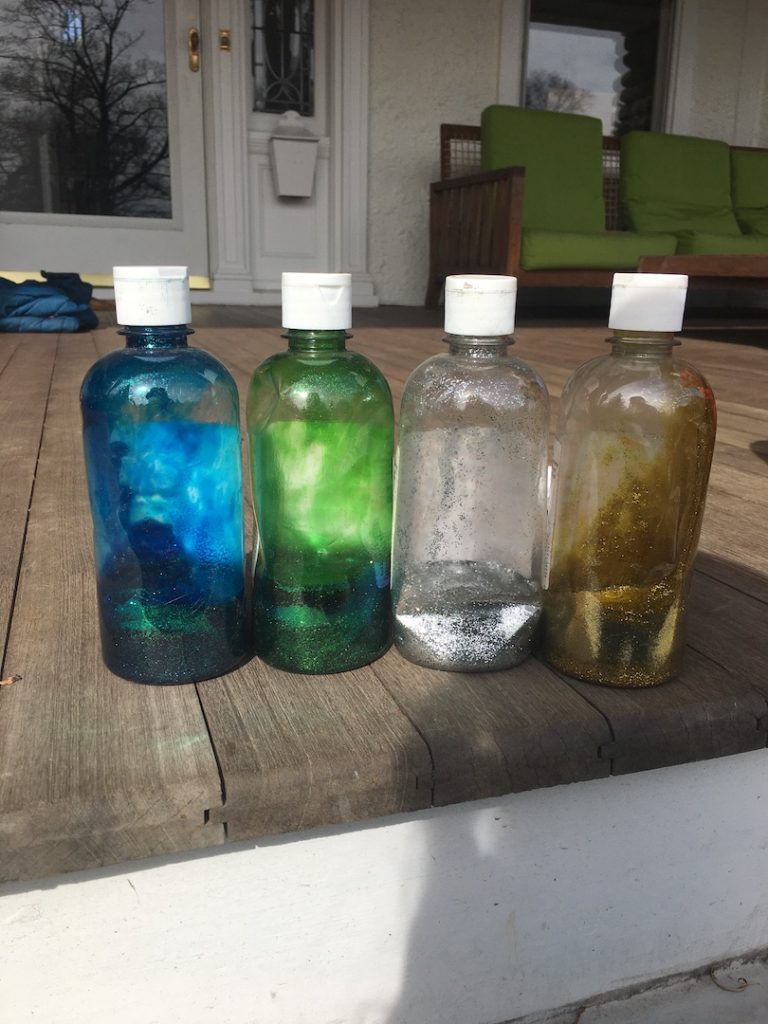
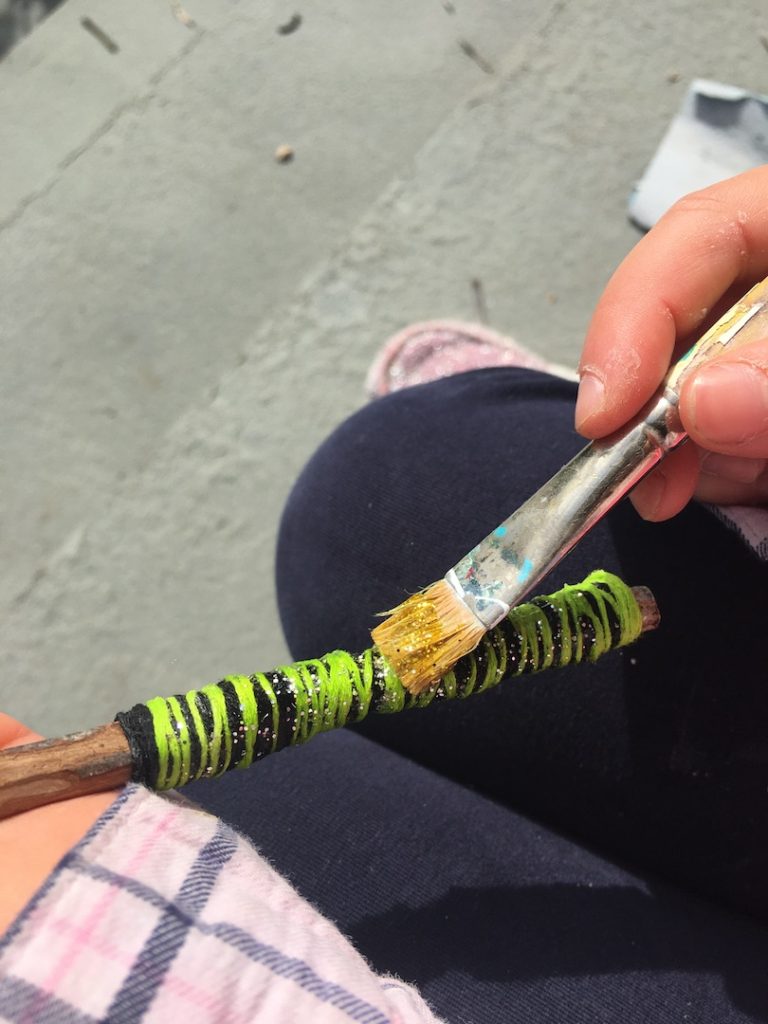
Step 7: Now it’s time to add some fairy magic. You can use glitter glue, or loose glitter with glue, or whatever spark(les) your fancy. You’ll also want to slather some glue onto the handle to secure your wrapping.
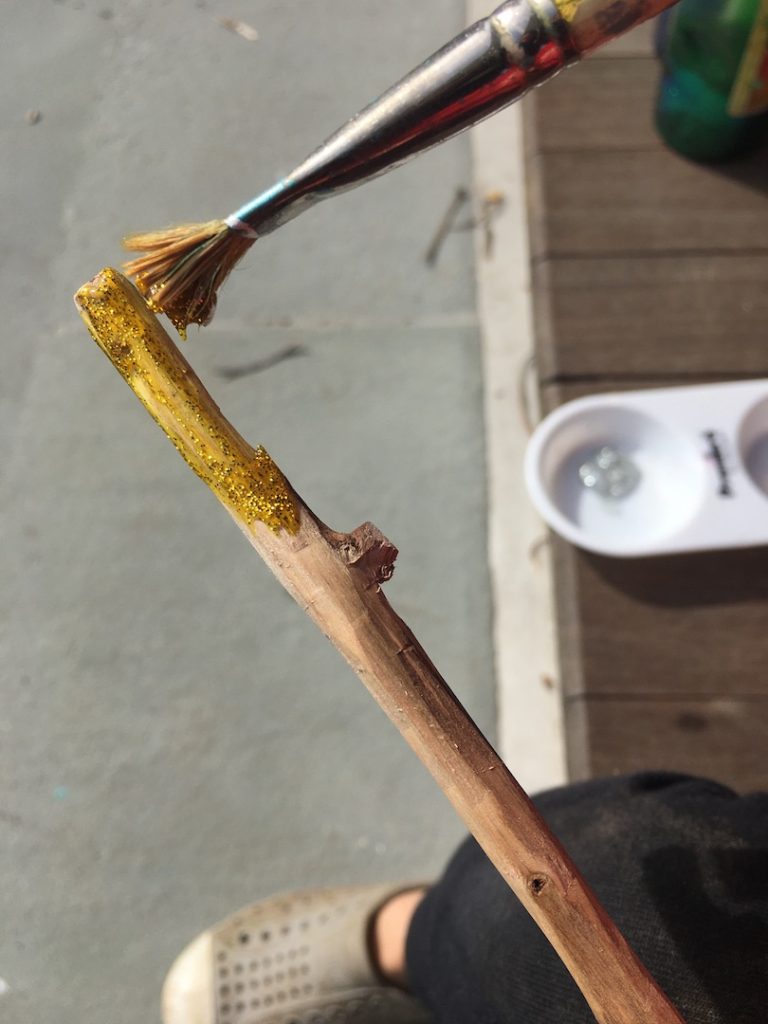
Take your time. Slowly brush on that sparkle. Breathe. Let the wand work its magic.
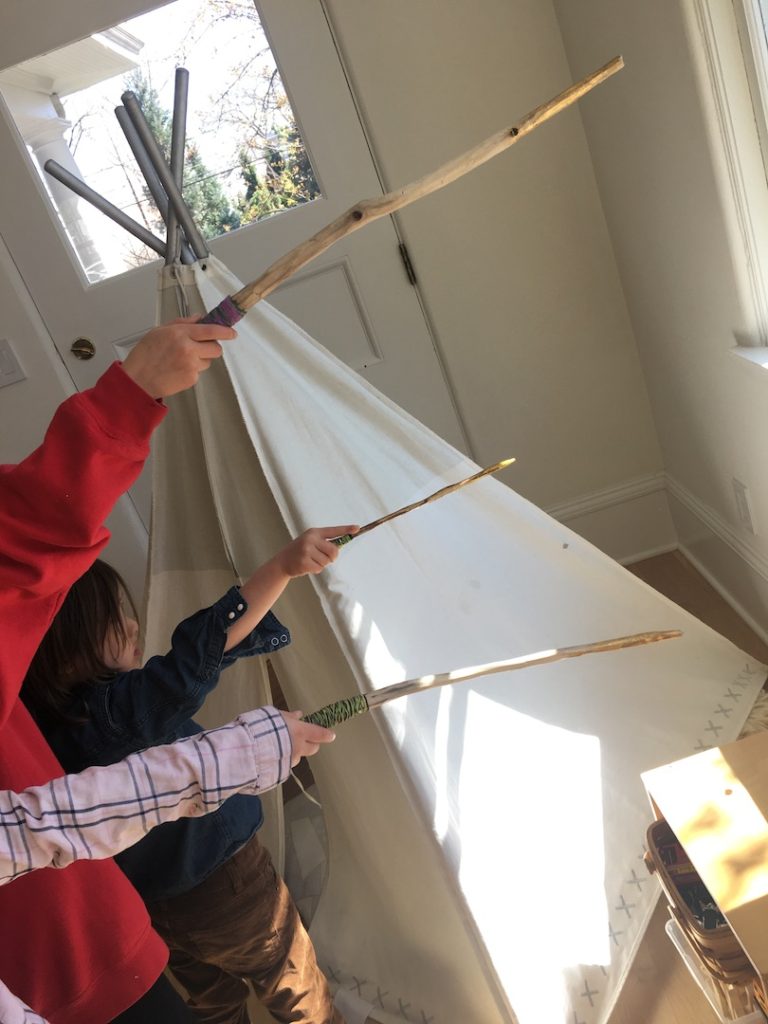
And POOF: Magic wands.
Wave them, protect good, summon health, obliterate hate, bring forth new ideas, inspire peace, and cast spells of love. We all have magic. Go share yours. The world is waiting.